
I have a sweet tooth, what can I do?
When it comes to pastry there are some basics to be praised. My first learning and practice in my culinary workshop was the “Sablage” – the basic of making a tart, known as pie crust.
There are 2 methods of Sablage:
– Classic Sablage using your bear hands takes you 15 minutes to prep the dough.
– Modern Sablage using the robot only takes 8 minutes to prep it, which is great when you are on a hurry!
I prefer the classical Sablage even if it takes me 10 minutes more because I feel I am in control of the dough shaping and texture and I usually make more than one dough when I am not in a rush.
Another thing to know about French pies is that there are 3 types – it is not that complicated:
– Tarte Brisée: the basic unsweetened pie crust, used for savory pies and salted tarts.
– Tarte Sucrée: Same as tarte brisee but with added sugar, used with any sweet filling.
– Tarte Sablée: my preferred pie out of the three, it is the richest sweetest pie (as it contains egg yolk & cream) but the trickiest to handle. it is known to be used with fruits and pastry cream filling.
The good thing about these tarts is that you can freeze them directly after baking them! You would have gained 30 minutes on your next meal! (Yes, I am time conscious).
Ingredients:
for 24 cm tart pan
180g Flour
70g Butter (room temperature)
100g Powder Sugar
30g Egg yolk (which means 1 big egg yolk depending on how much organic the eggs are) and 20g of cream
6g Salt
1st Method: Classic Sablage, by hand:
preparation: 15 minutes
storing: 30 minutes
baking: 10-15 minutes
1. Put the flour on your work surface with the sugar and salt. add the diced butter, work it with your bear hands until you get a fluffy “sandy” texture. make sure that butter is melted within the flour, you shouldn’t feel any butter pieces.
2. Mound the “sandy” dough with a whole in the center.
3. Add the egg yolk and cream in the center and gradually mix the dough with the liquid ingredients by hand. the dough is ready when barely moistened and come together into a ball.
> don’t be afraid to add more cream or water if you still didn’t get the moistened ball shape yet.
> don’t overwork the dough otherwise it will be tough to roll it out.
4. Refrigerate the dough for 30 minutes to avoid stickiness when rolling it out (main cause of stickiness is the melted butter).
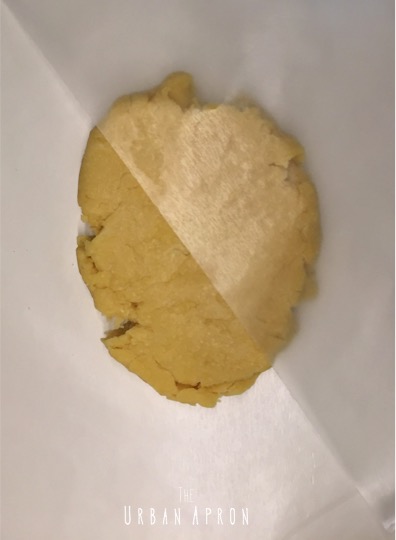
5. Roll out the dough between 2 sheets of parchment paper- allow a 3 mm thickness and put it in a 24 cm tart pan.
6. Preheat the oven at 160°C and bake the pie crust 10-15 minutes depending on your oven. The color must be golden (light brown) and the smell should take over your entire home!
2nd Method: Modern Sablage, with the robot
preparation: 8 minutes
storing: 30 minutes
baking: 10-15 minutes
1. Mix together the diced butter, the flour, the sugar and salt until you get a sandy texture
2. Add the egg yolk and cream. Again, don’t be afraid to add more cream if the dough is not ye shaped.
3. Refrigerate the dough for 30 minutes to avoid stickiness when rolling it out (main cause of stickiness is the melted butter).
5. Roll out the dough between 2 sheets of parchment paper and put it in a 24 cm tart pan.
6. Preheat the oven at at 160°C and bake the pie crust 10-15 minutes.
Enjoy your pie crust with anything sweet on your mind!
The Urban Apron

